There is a newer version of this tutorial here.
GOAL: Use Photoshop to turn a photograph into a drawing.
NOTE: Try Image Trace first!
Instructions
Find an image. It doesn’t need to be as large as the project, but it should be large enough to show detail. I’m going to use this stock photo:

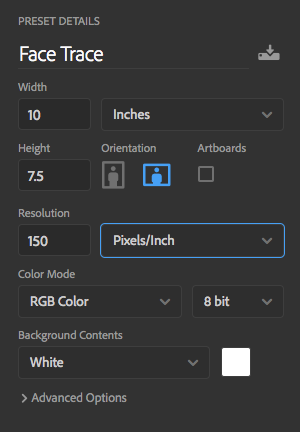
Open a new document in Photoshop. Because this photo was taken in landscape format (wider than it is tall), I’m going to make my project file in landscape as well. Here are the settings I used:
Drag your photo onto your project. Photoshop will load it as a smart layer.
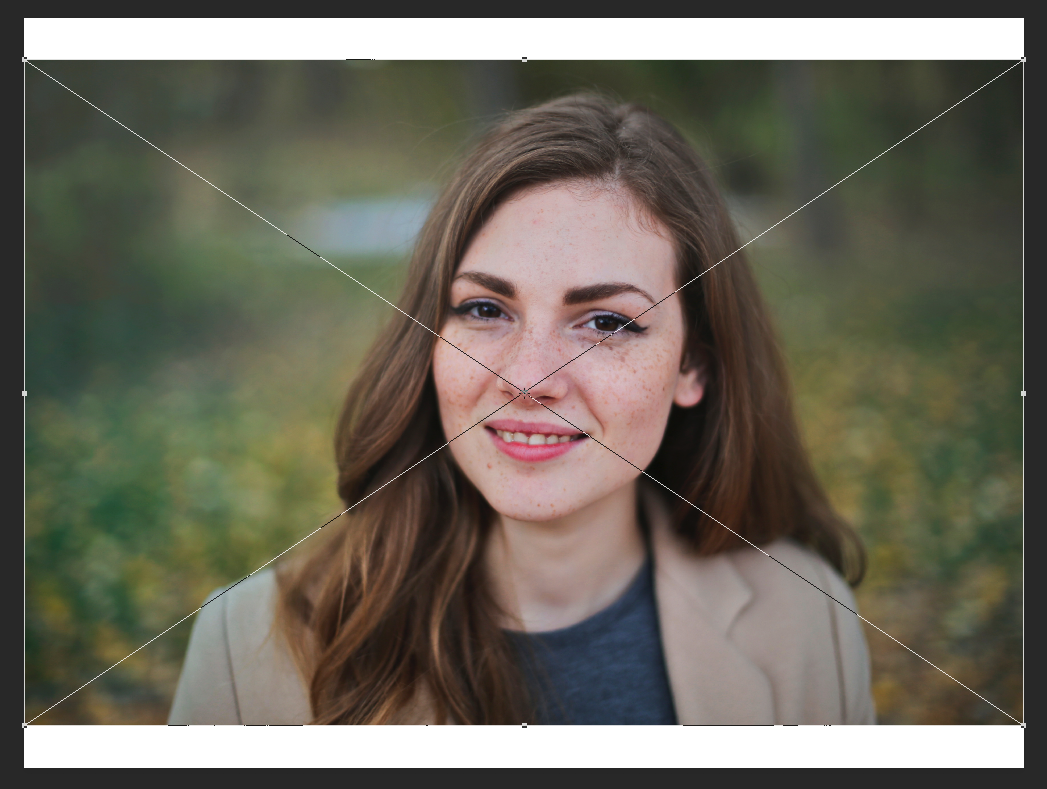
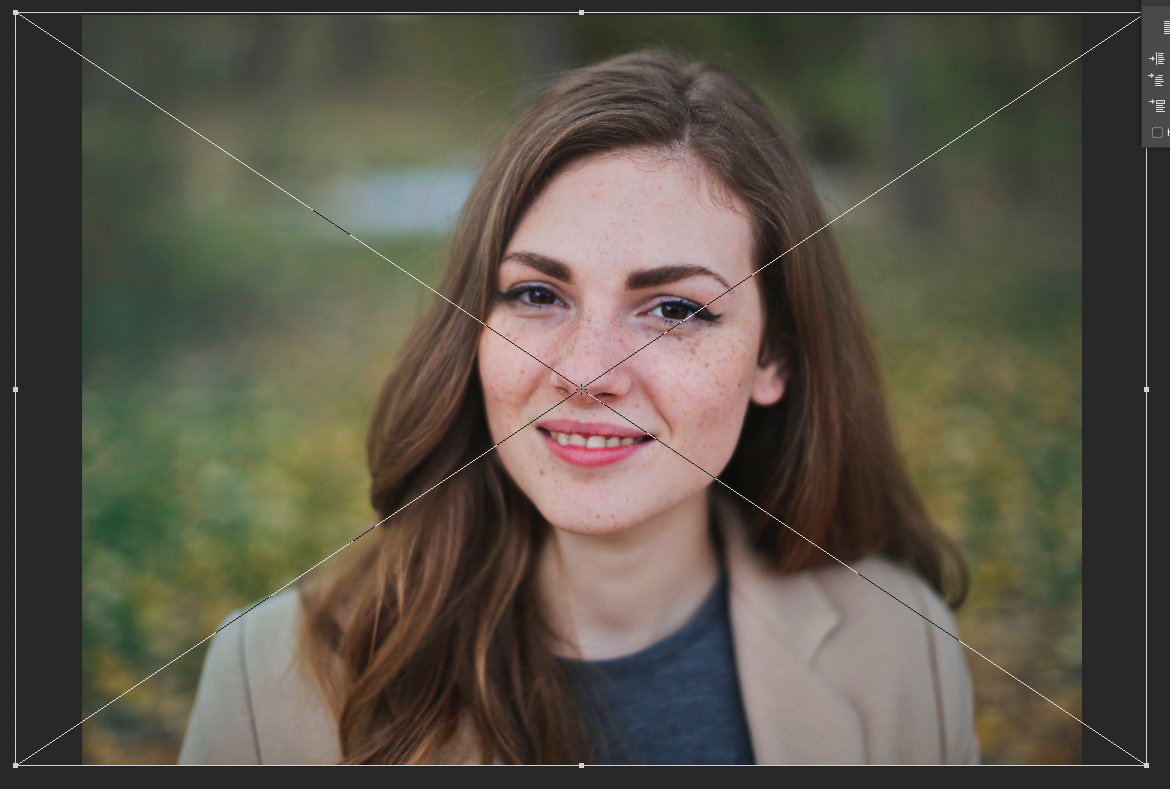
Resize your image to fit your project. It might not fit exactly. Remember: if you hold down shift and drag from a corner, the proportions will stay the same.
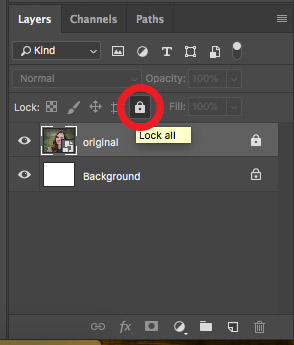
Rename the picture layer original and lock it by selecting the lock icon at the top of the layer menu.
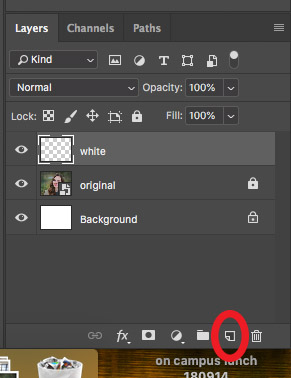
Create a new layer and name it “white.”
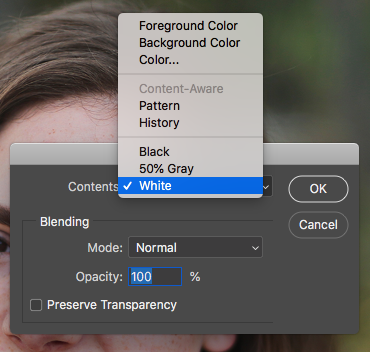
On the main menu, select edit>fill, then select white as the fill color.
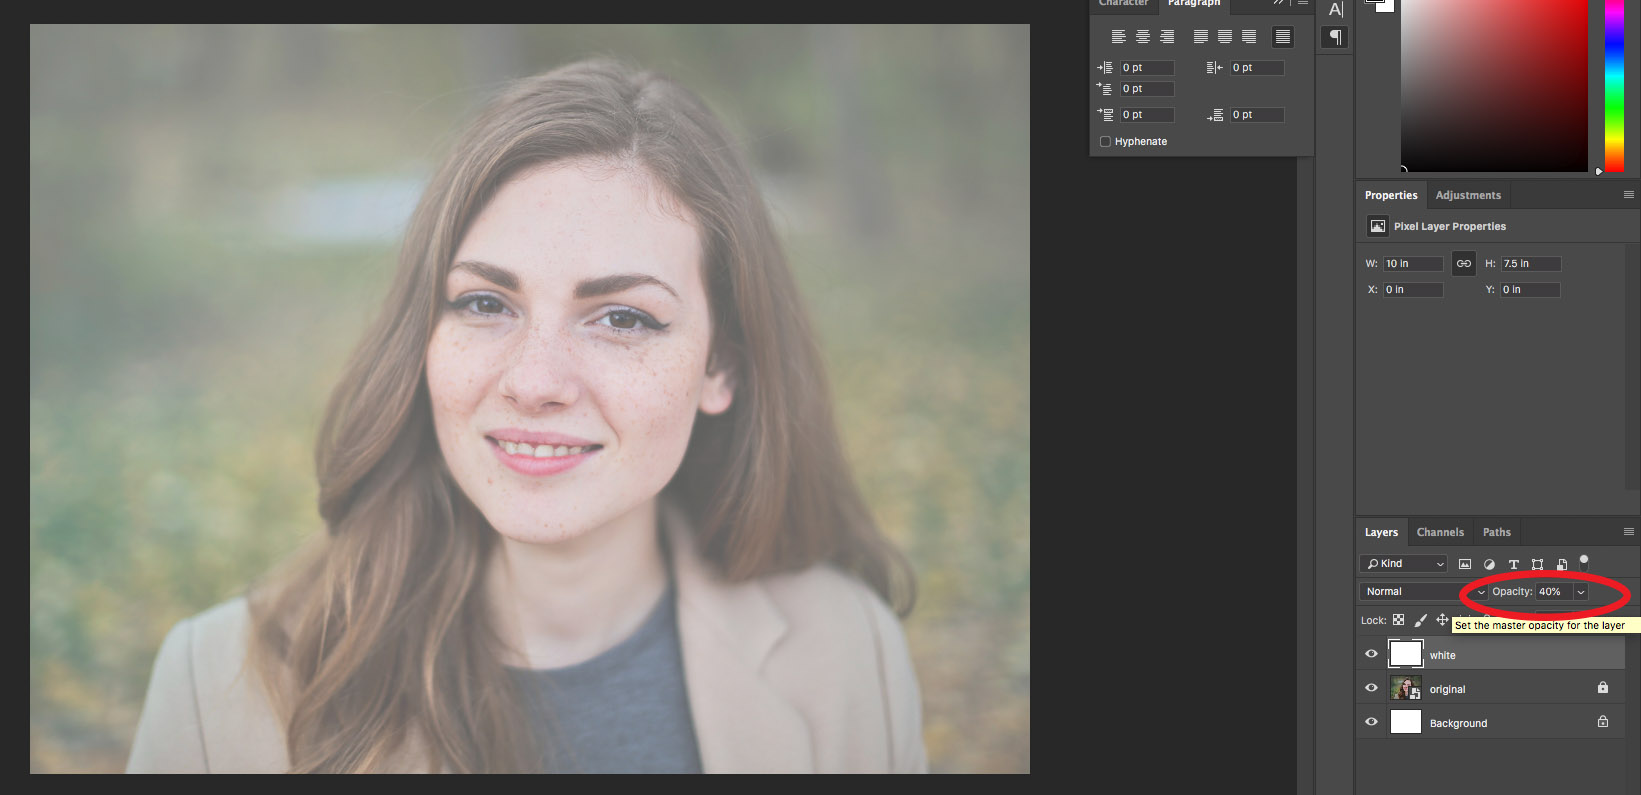
Lower the opacity of the white layer until you can clearly see a light version of your source image.
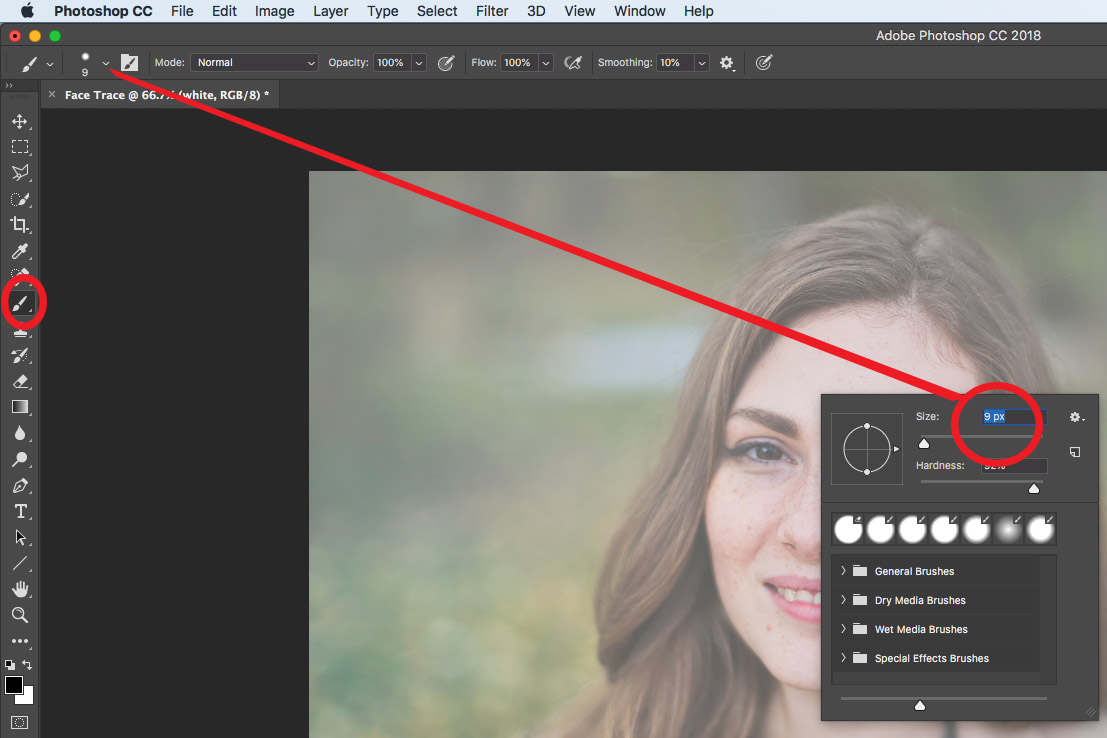
Select the brush tool. Set the brush size fairly small. If you are using a mouse to draw, set the brush to 5 or 6 pixels. If you are using a drawing tablet, set it a little larger.
Create a new layer above the white layer. Rename it “lines.”

Trace over the very darkest parts of the image. DO NOT OUTLINE FACIAL FEATURES – just fill in the dark spots.
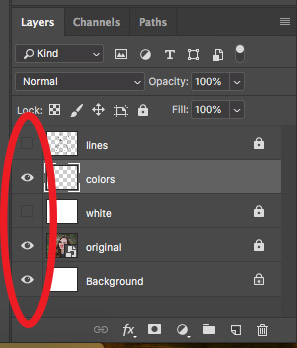
Make a new layer between the lines layer and the white layer, and name it “colors.” Hide the lines and white layers by selecting the eyes next to each layer.
Use the brush tool to paint the colors on the layer. Try to stay close to the colors of the image underneath, but don’t worry about staying exactly on the shapes or inside the lines.

After you’ve done the main colors for the face, you might find it’s easier to do the details on separate layers. If you do this, make sure the new layers are between the colors layer and the lines layer.
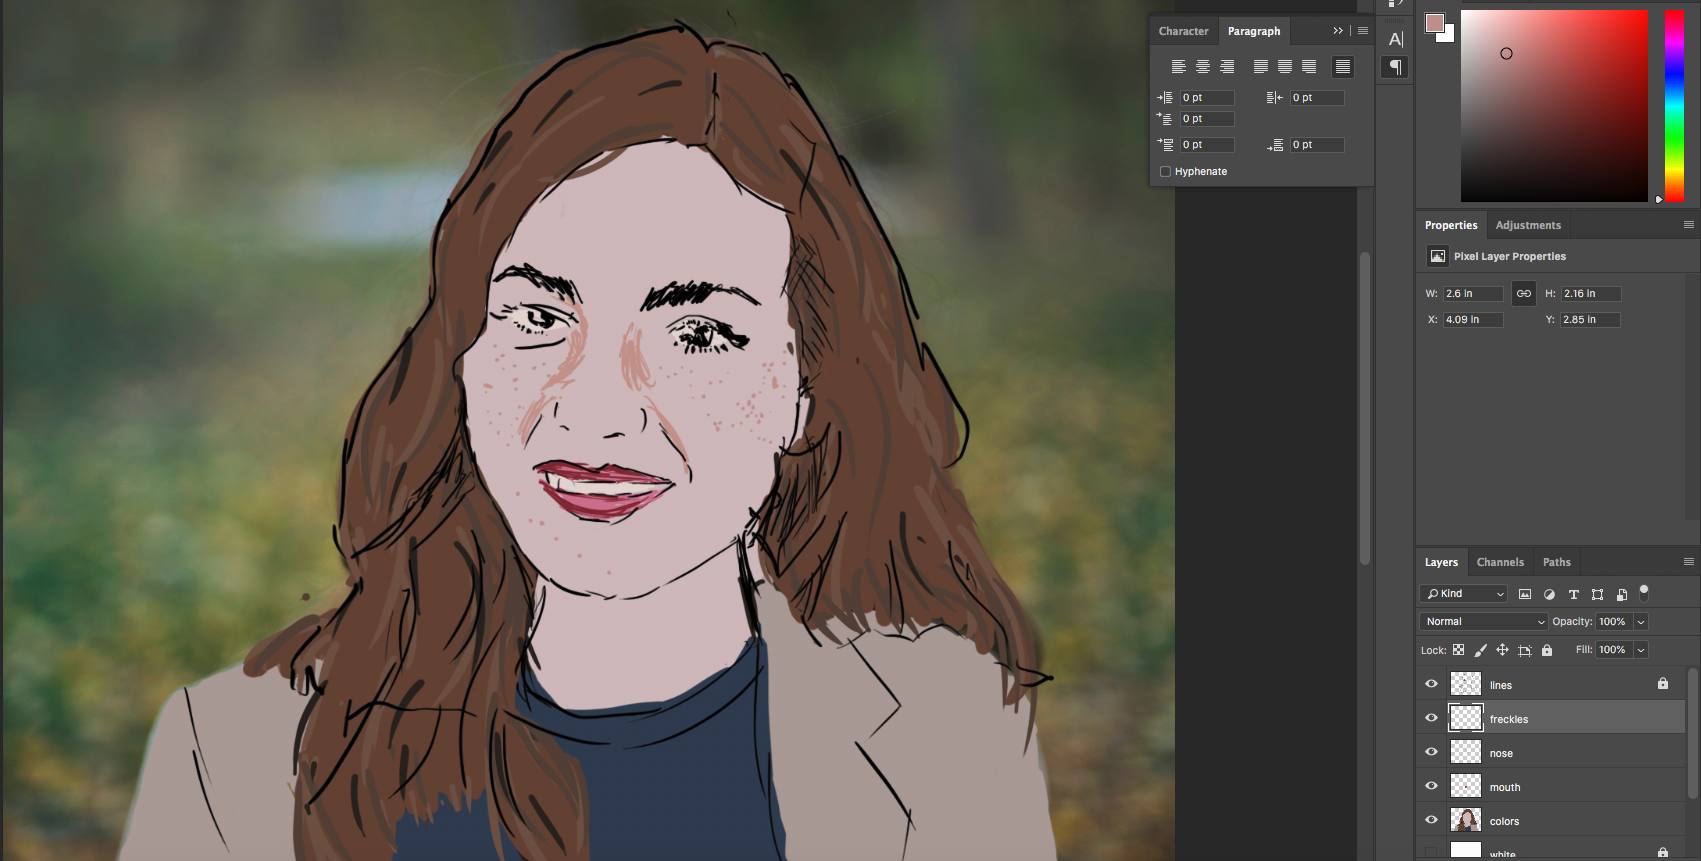
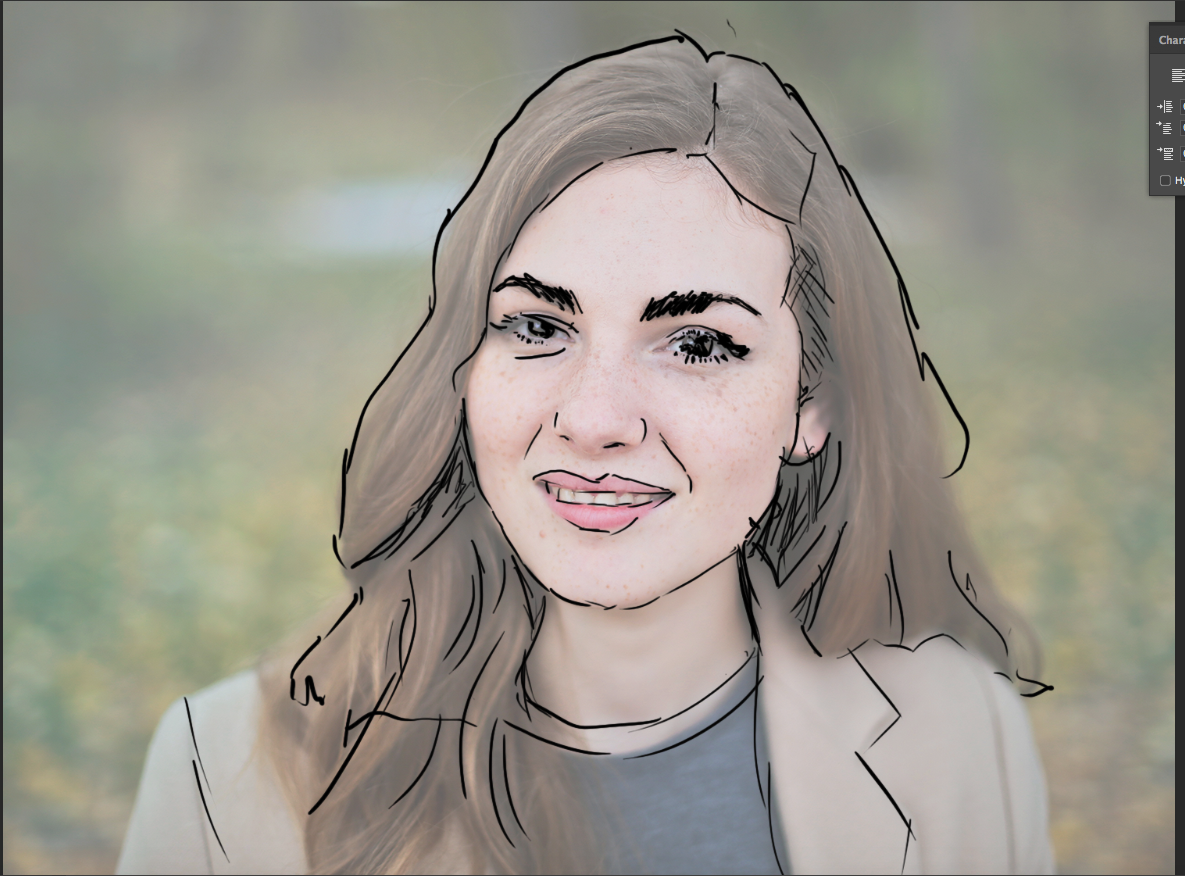
Here’s the mostly finished piece. Notice the nose, mouth, and freckles have their own layers. Also notice that the shape of the nose is shown by the change in color around it, not by outlining the nose.