
Goal
Create two slightly different versions of the same image.
Instructions
- Find or take a start image. A good start image will have lots of details that you can change, but won’t be so detailed that finding the differences will be impossible.
- Crop the image so that it fits into one of the two templates attached below.
- Set the crop tool to “W x H x Resolution”
- If your picture is wider than it is tall (landscape format), crop your image to 977px x 564px, 150 pixels per inch.
- If your picture is taller than it is wide (portrait format), crop your image to 640px x 828px, 150 pixels per inch.
- Download and open the correct template in Photoshop.
- If your picture is in landscape format, use
“spot the differences template (landscape images).psd” - If your picture is in portrait format, use
“spot the differences template (portrait images).psd”
- If your picture is in landscape format, use
- Use the move tool to copy and position your start image in the first position on the template.
- Press command-J to make a duplicate of the start image.
- Use the move tool position the duplicate in the second position on the template.
- Make changes to the duplicate image. Make at least six changes. Make sure they are large enough to see, but not too easy. Some ideas:
- add something new
- remove something
- move something to a new place
- change colors
- Change the fonts. Make sure they are readable!
- Change the number symbol at the bottom to tell the viewer how many changes to find.
- Change “First Last” to your name.
- Change the background. You can use a solid color, a gradient, or an image.
Templates
spot the differences template (portrait images)
spot the differences template (landscape images)
Sample
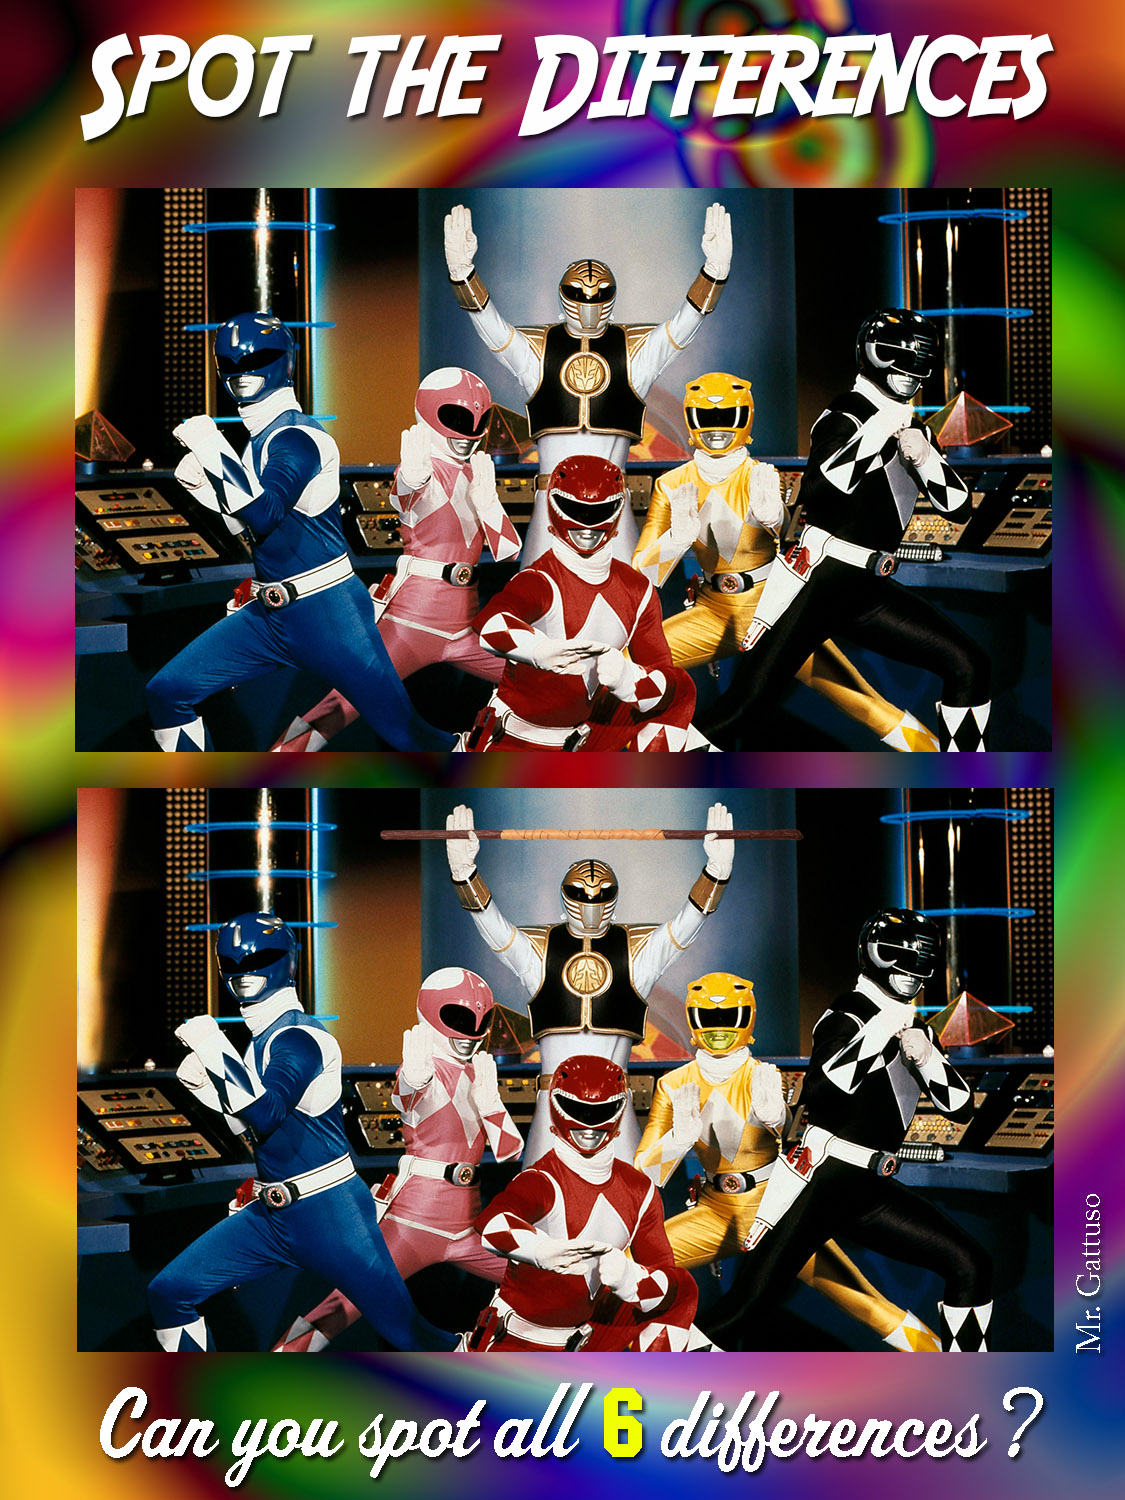
The six differences, and how I made them
If you look at the Photoshop file for the sample, you’ll see that I made almost ever change by adding it to a new layer. That lets me easily change or remove the differences.
- Removed the pyramid (in the background, on your left).
Made a new layer.
Selected the clone tool.
Set the tool to copy all layers.
Held down option and selected the area to copy.
Painted over the pyramid. - Added a blue ring to the pole (in the background, on your left).
Done the same way as the pyramid. - Switched the colors of the pattern on the Pink Ranger’s left hand.
Used the polygonal lasso to select the original pattern.
Pressed command-J to jump a copy of the selection to a new layer.
Used the transform command (command-T) to rotate and reshape the pattern. - Turned the White Ranger’s chest symbol upside down.
Done the same way as the Pink Ranger’s glove. - Changed the color of the Yellow Ranger’s Mouth.
Selected the area around the Yellow Ranger’s mouth.
Used Image > Adjustments > Hue/Saturation to change her mouth color - Added a staff in the White Ranger’s hands.
Found a picture of a staff.
Masked out the staff from the background.
Added it as a new layer.
Used transform (command-T) to make the staff the right size and in the right position.
Masked off the area that would be behind the White Ranger’s thumbs.
Photoshop file of sample image: spot the differences sample