GOAL: Create an image that looks like it is made from building blocks.
Note: This project is based very heavily on this tutorial by Kirk Nelson. The project instructions here are simplified. If you want to try a more detailed effect, I highly recommend you check out the original tutorial.
Create the Block Pattern
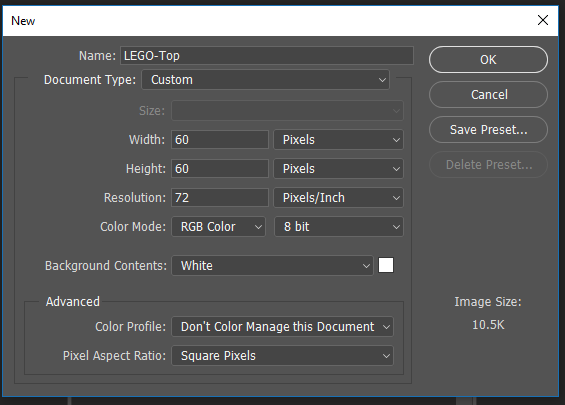
Create a new 60 pixel by 60 pixel document. Name it LEGO-Top.Make sure you use pixels, not inches!
Create a new layer. You can use the menu at the top of the screen (Layer > New), the New Layer icon under the layer palette (it looks like a square with a bent corner), or press Command-Shift-N.
On the menu, select Edit > Fill.
Choose 50% Gray.
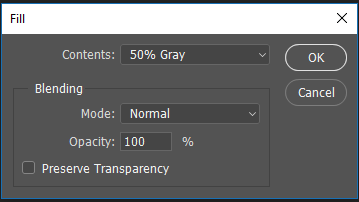
Select OK.
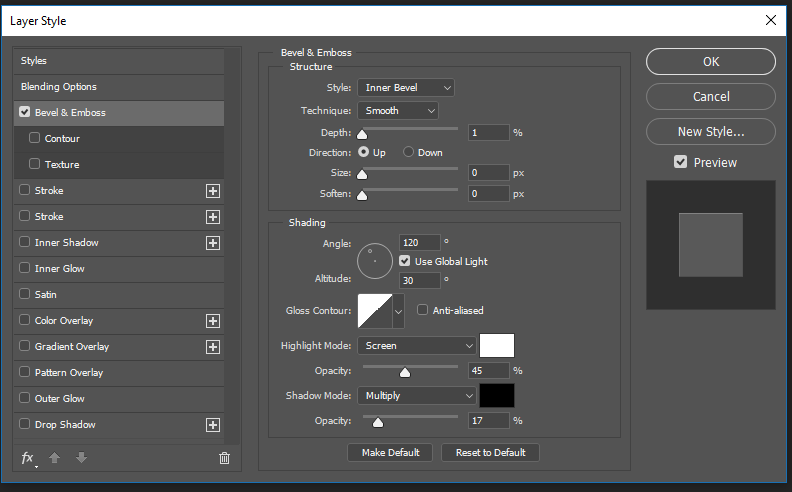
Double-click the layer in the layer palette to open the Layer Style menu.
Add a Bevel and Emboss layer style with these settings:
Click the foreground color to bring up the color palette. Set your foreground color to the same gray color (#808080). 
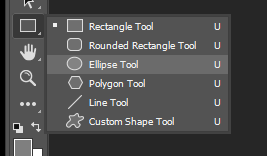
Select the Ellipse tool. If you’ve been drawing other shapes, it might not be visible. If you see a different tool (like a line or rectangle) where you should see the ellipse, click and hold for a second on whatever shape is there. When you let go, you’ll see the ellipse tool (as well as some other hidden tools).
At the top of the screen, make sure the tool mode is set to Shape.
Make sure the Fill is set to the foreground gray. If it isn’t, click the color and change it- the gray should be the first color in the drop down color palette that appears.

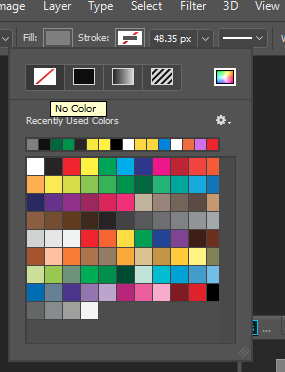
Make sure Stroke (the line around the outside of the shape) is set to nothing (it should be white with a diagonal red line).
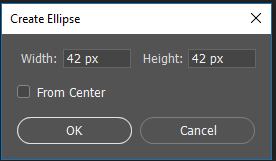
Click anywhere inside the canvas to open the Create Ellipse menu. Create a circle 42 px by 42 px.
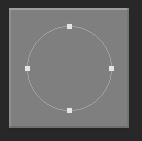
Switch to the Path Selection tool (the arrow right above the ellipse).
Drag the circle to the center of the canvas(it should snap into place).
Double click the Ellipse layer to open Layer Styles.
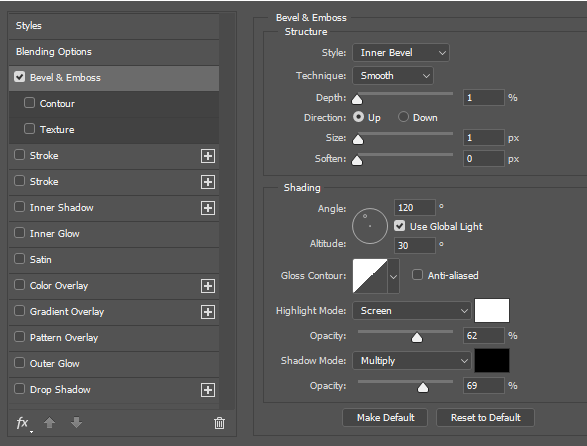
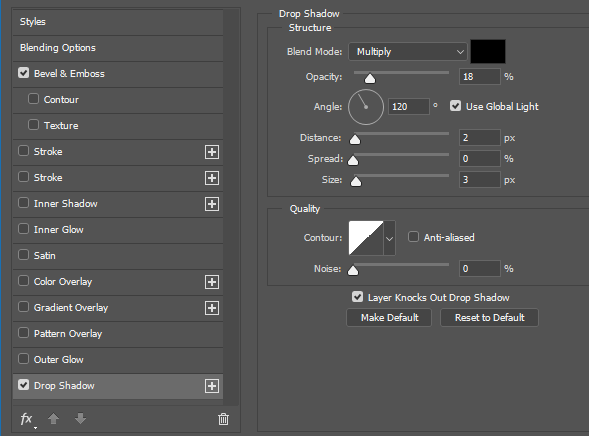
Add a Bevel and Emboss style with these settings:

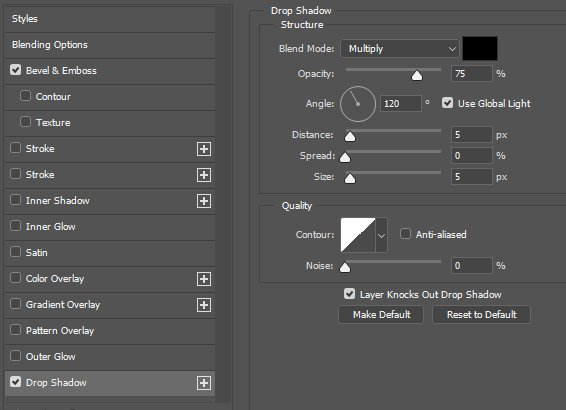
Add a Drop Shadow with these settings:
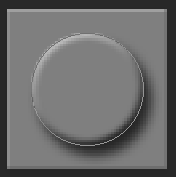
You should have a shape that looks a lot like a 1 x 1 LEGO block.
Switch to the Type tool (the T).
Choose a thin font like Arial.
Set the font size very small, around 6 pt.
Set the text color to black (top of the window) so you can see where you are placing your text.

Click somewhere outside the circle and write your text. If you click inside the circle or on the edge, Photoshop will think you want your text to follow the curve of the circle.
Click the text layer on the layer palette to set the text.
Use transform (command-T, or in Windows Ctrl-T) to position and size the text. PressReturn (WIndows, press Enter) when the text is in the right place.

At the top of the screen, change the text color to gray (#808080).
Double click the text layer to open the Layer Styles menu.
Add a Bevel and Emboss style with these settings:
Add a Drop Shadow style with these settings:
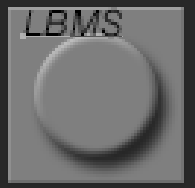
Congratulations! You’ve done the hard part! Save your file.
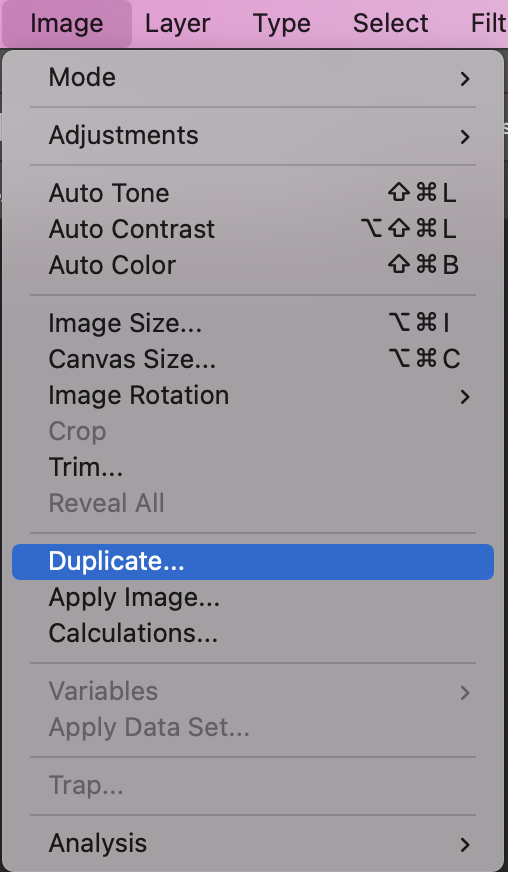
Make a duplicate and close the original. To make a duplicate, choose “Image” on the main menu, then choose “Duplicate.”
Flatten the image. On the menu, choose Layer > Flatten image.
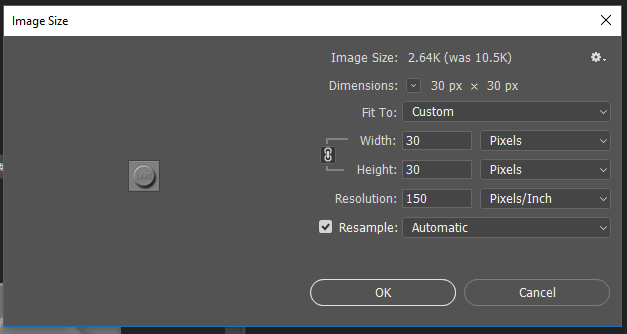
On the menu go to Image > Image Size.
Resize the image to 30 pixels by 30 pixels. NOT INCHES!
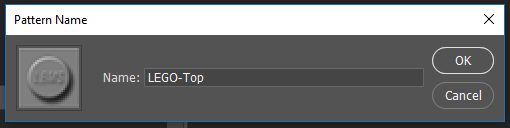
On the menu, go to Edit > Define Pattern.
Give it a name like LEGO-Top and click OK.
Close the duplicate image.
Preparing your image
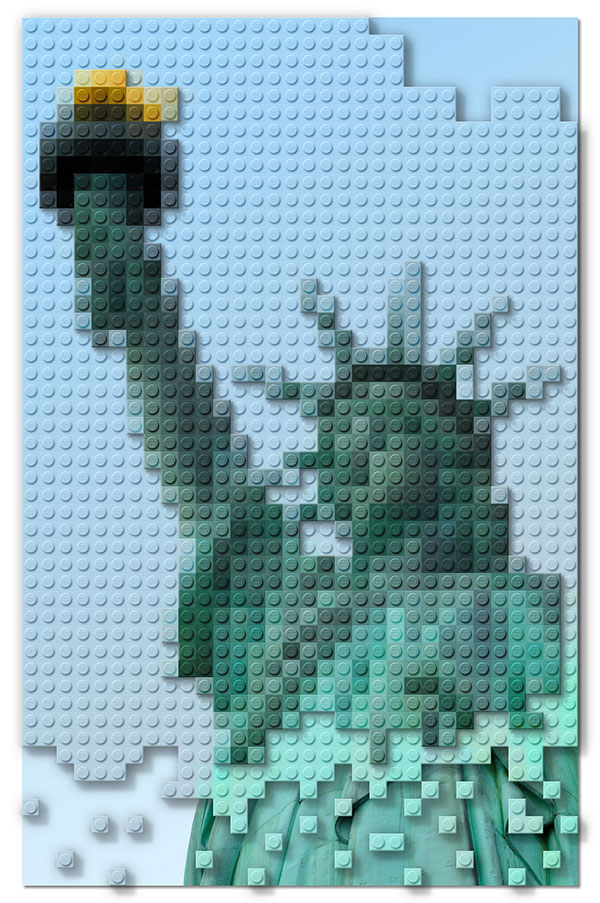
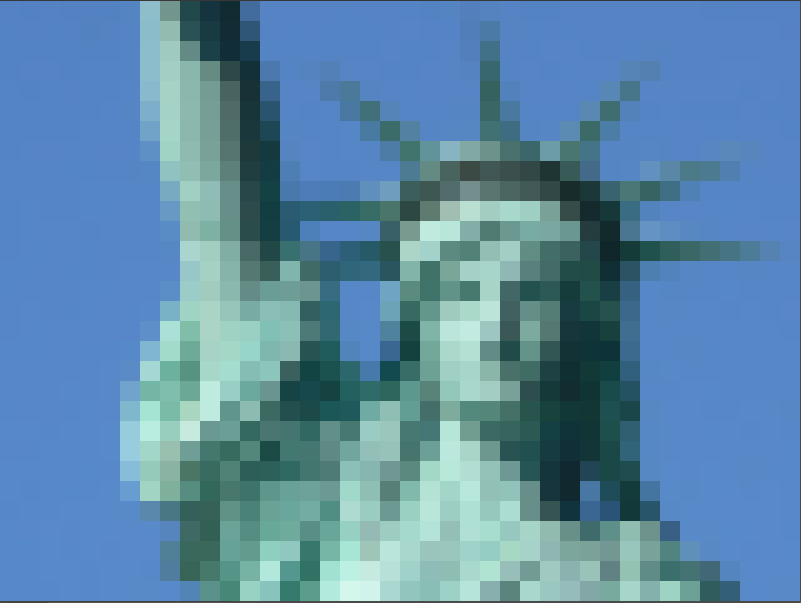
Pick a large picture that’s got a lot of contrast, but doesn’t have a lot of detail. It could be a close up of a face, or an image of something familiar. I’m going to use the same subject as the original tutorial: The Statue of Liberty.

Remember that we made our LEGO block pattern 30 pixels by 30 pixels. That means that our image dimensions have to be multiples of 30 so that the blocks will fit correctly. My original image happens to be 1200 x 900, which means the dimensions will work without adjustment. If you need to change yours, you can either change the canvas size (on the menu, Image > Canvas Size), or you can use the crop tool. If you use crop, set the crop method to W x H x Resolution and set the width and height to sixes divisible by 30- and remember to switch the units to PIXELS, not INCHES!
On the menu, go to Filter > Pixelate > Mosaic and set the cell size to 30.
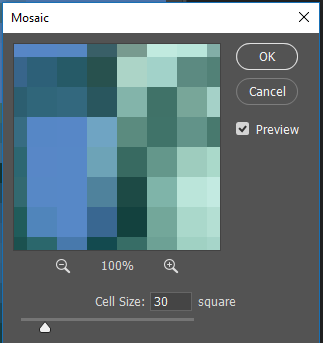
Your picture will now be a set of big squares.
Add the blocks
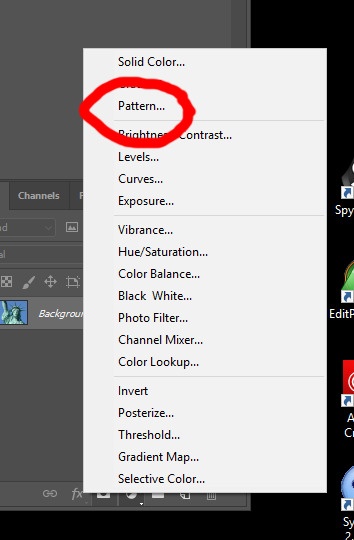
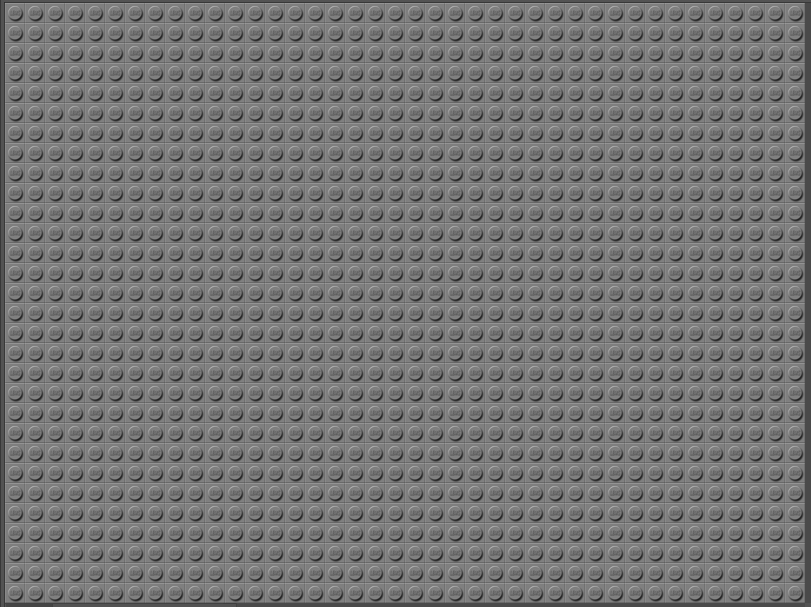
At the bottom of the layer palette click the icon to create a new fill or adjustment layer (it’s a circle that’s half white) and choose Pattern.
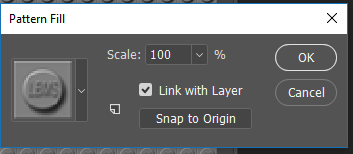
Your image will now look like a solid wall of gray blocks.
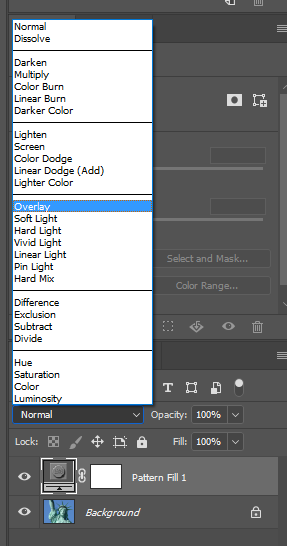
Go to the layer palette. Make sure the Pattern Fill Layer is selected, and change the blend mode to Overlay.
And you’re done!
Here’s my finished version:

Remember: If you’d like to try a more complex version of this, go to the original tutorial. It features multiple layers and missing pieces. Here’s how Kirk Nelson’s Statue of Liberty looks: