GOAL
Find and distort a large image of someone’s face.
TOOLS
- Google Image Search
- Photoshop melted and warped filter
INSTRUCTIONS
- Go to Google images (https://images.google.com/)
- Search for a picture of a famous face. No politicians, gamers, or YouTubers, please. Instead, pick an actor or singer.
- Select Tools, then Size, then Large to make sure you’re only looking at large images.

- Choose a picture that clearly shows the face. Don’t worry about the body- we’re only looking at the head.
- Hold down control and click the image (on a Windows machine, right click). A menu will pop up.
- Let go of control if you’re still holding it.
- Select “Open image in new tab.”

- A new tab will appear at the top of Chrome. If the tab is empty, the image is blocked- try again with a different image. If the tab show the picture, hold down control and click the image (Windows users, right click) Select “Save Image As” and save the image where you can find it (the desktop will work).

- Open Photoshop. You can find it several ways, but the easiest is probably by using the launchpad (the rocket on your dock).
- Open your image in Photoshop. Select File at the top of the screen, then open. Find your file and select the open button.
- Your screen will look something like this:

You’ll see a tool bar on the left side of the screen. These are all the basic tools for editing an image. On the top of the screen is the options bar. It lets you adjust how each tool works. Above the options bar is the menu bar (it’s all words). - From the menu bar, select Filter, then Liquify:

- You’ll see the liquify screen:

- For this filter, the tool menu is on the right (just like the main screen), but the settings menu is on the right.

Here’s what each tool does (in order listed): Forward Warp – pushes whatever is under the cursor in the direction of movement. If you move up, everything goes up.
 Reconstruct: Moves whatever is under the cursor back to its original position. You can also put things back by using the Reconstruct and Restore All buttons at the bottom right of the window.
 Smooth: tries to make the transitions between the original picture and any changes you’ve made look more natural/smoother.
 Twirl Clockwise: spins whatever is under the cursor.
 Pucker: pulls everything under the cursor toward the center.
 Bloat: Pushes everything under the cursor away from the center.
 Push left: moves everything under the cursor to the left IN THE DIRECTION OF MOVEMENT. If you move up, it pushes to your left. If you move down, it pushes to your right. Move left, it pushes up; move right and it pushes down.
 Freeze mask: marks an area so it won’t change.
 Thaw mask: removes the freeze mask.
 Face: if Photoshop detects a face, this tool is active. It allows custom adjustments of the size and positioning of face parts.
 Hand: if you picture is zoomed so it’s larger than the screen, the hand will let you move the image around.
 Magnify: click to zoom in. hold down Option and click to zoom in.
- Your goal is to war the face so it looks strange, BUT IS STILL RECOGNIZABLE AS A FACE. Don’t do something like this:

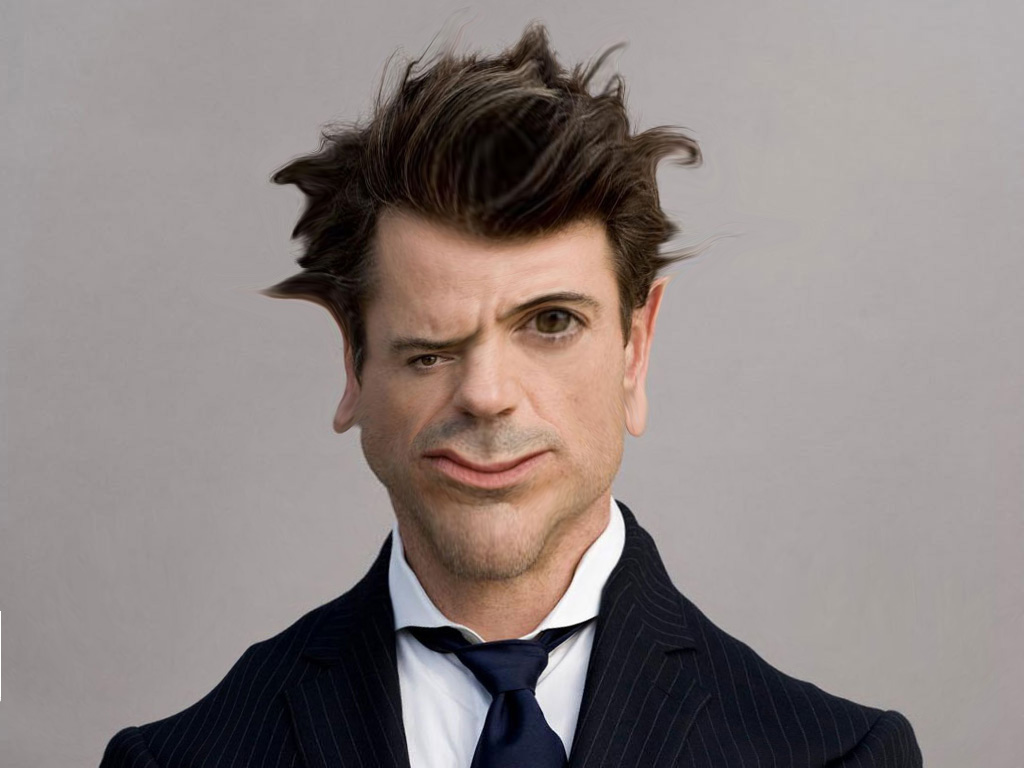
Instead, do something like this:
You can distort the image more, but make sure we can clearly see the eyes, nose, mouth and ears. - Take your time. Play with the properties of each tool to see how they work.
- When you like what you’ve created, select the OK button at the bottom of the screen.
- Save your work.